Finishing Your Hemp Bracelet
How to Finish Your Hemp Bracelet and Add a Clasp Bead
Congratulations, you are almost done with your first hemp bracelet! By now you must have mastered the basic square knot hemp bracelet pattern and you are ready to add the finishing touches and start wearing your new handmade bracelet.
In this lesson I’m going to show you how to tie the finishing knots and add a bead clasp for and attractive and secure way to wear your hemp bracelet. I know you are anxious to finish your bracelet so that you can wear it so I’ll keep this one short.
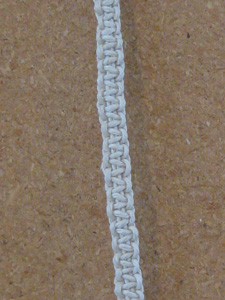
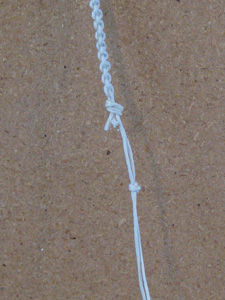
First you should compare your hemp bracelet to mine:
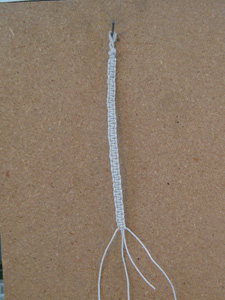
If you are using the regular brown, 20 lb hemp twine then it will look a little different than mine, but they will look mostly the same. Just make sure your braid looks something like this:
If you are satisfied with your hemp bracelet so far then proceed to the steps below to finish your first hemp bracelet:
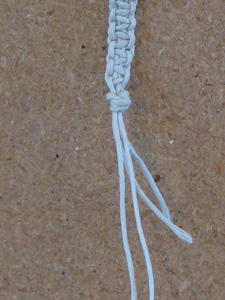
Step One
Tie a Knot at the bottom of the braid. Make sure to make it snug against the braid to keep it tight.
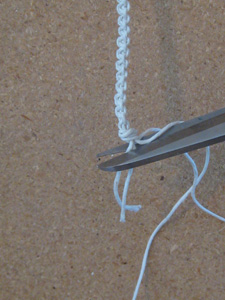
Step Two
Trim off any excess twine that isn’t long enough to tie another knot with.
Step Three
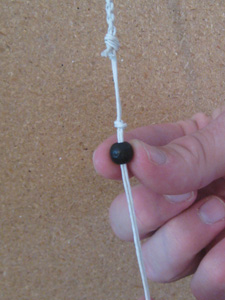
(Optional) Tie another knot to hold the bead in place.
Step Four
Slide the bead on the twine for the clasp.
Step Five
Tie one more knot in the twine below the bead to keep it on and secure.

Step Six
Try on the hemp bracelet and test out the bead clasp, cut off excess twine if needed.
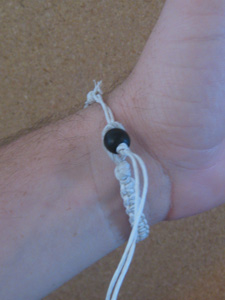
Finished!!! Now you can wear your very first handmade hemp bracelet with pride!
Alternative to the bead clasp:
If you don’t have a bead to use for the clasp then you can just tie a large knot at the end where you would normally put the bead. Although this method works just fine, I highly recommend using a bead clasp. It is much more attractive and easier to use when putting the bracelet on and taking it off.
Now that you are an official hemp jewelry artist, you can move on to our other lessons to learn hemp bracelet patterns and tips to keep expanding your knowledge and making even more beautiful bracelets. I would say the next pattern to learn would be the spiral hemp pattern. It is as simple as the square knot pattern but looks completely different.
Thanks again for taking my lesson on how to finish a hemp bracelet. As with most of our lessons and patterns, this lesson can also be applied to necklaces for another way to have fun with hemp jewelry.
Make sure you check out my next hemp jewelry lesson and stop by my hemp jewelry store for hemp twine, beads, and more hemp jewelry products.
See you next time!
Sam A. @ Hemparadise.com